
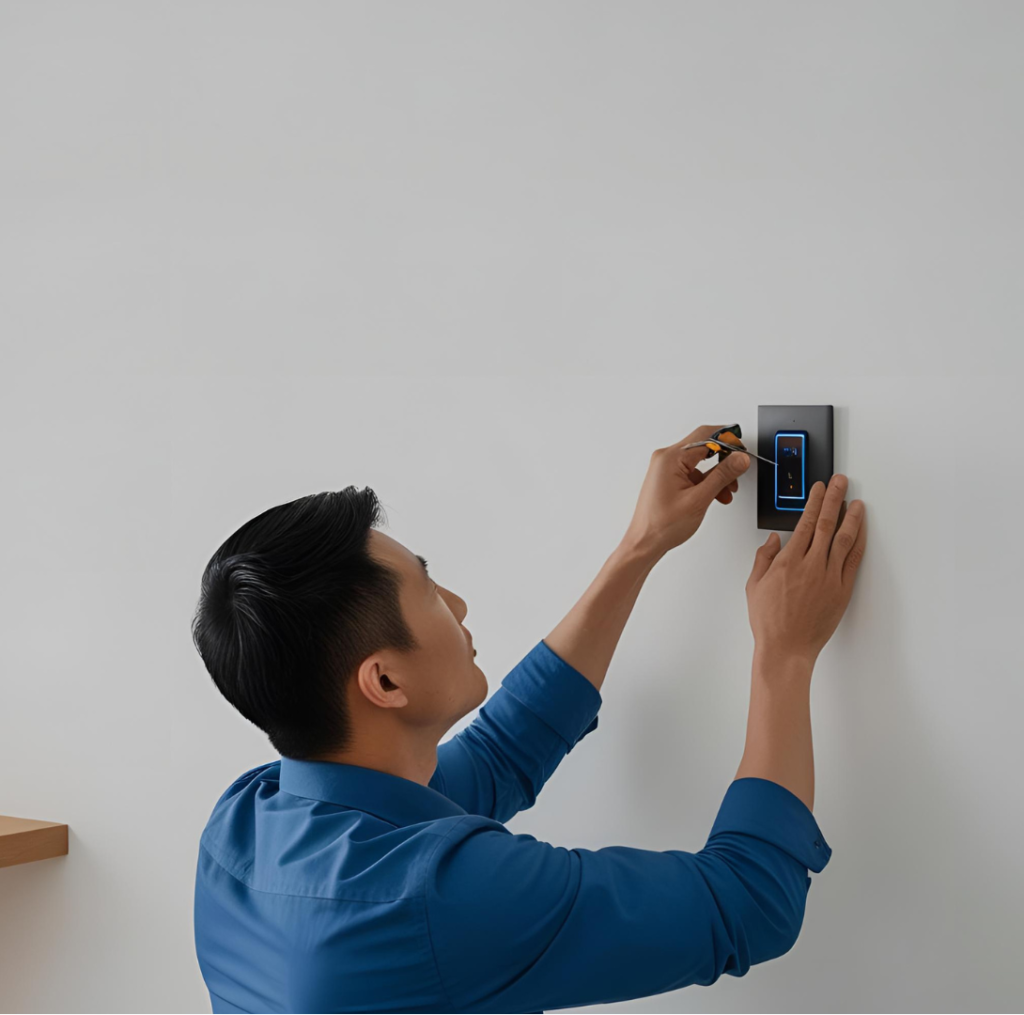
Installing smart switches and plugs represents one of the first practical steps in creating a smart home. While smart plugs offer plug-and-play simplicity, smart switches typically require more involved installation. This comprehensive guide walks you through the installation process for both device types, ensuring you can confidently add these foundational smart home components to your living space.
Before You Begin: Preparation Essentials
Proper preparation ensures a smooth, safe installation process.
Safety First
Before touching any electrical components:
Power Management:
- Turn off power at the circuit breaker, not just the switch
- Use a non-contact voltage tester to verify power is off
- Inform household members that you’re working on electrical systems
- Place a piece of tape over the circuit breaker to prevent accidental reactivation
Tool Preparation:
- Use insulated screwdrivers rated for electrical work
- Have a flashlight or headlamp available for better visibility
- Wear rubber-soled shoes when working with electrical components
- Consider using insulated gloves for additional protection
Emergency Planning:
- Know where your main electrical panel is located
- Have a phone nearby in case of emergency
- Familiarize yourself with basic electrical first aid
- Don’t work on electrical systems when home alone if possible
Compatibility Verification
Before purchasing or installing:
For Smart Switches:
- Check if your existing switch box has a neutral wire (white wire, usually bundled in back)
- Measure the depth of your electrical box to ensure sufficient space
- Verify your existing switch’s type (single-pole, three-way, dimmer)
- Confirm your new smart switch‘s maximum load rating exceeds your fixtures’ requirements
For Smart Plugs:
- Ensure your outlet has sufficient clearance around it for the smart plug‘s dimensions
- Verify the smart plug’s maximum load rating exceeds your intended devices’ requirements
- Check if your WiFi signal is strong in the intended location
- Confirm compatibility with your smart home ecosystem
Gathering Necessary Tools
For smart switch installation, you’ll need:
- Screwdrivers (flathead and Phillips)
- Wire strippers/cutters
- Needle-nose pliers
- Electrical tape
- Non-contact voltage tester
- Flashlight or headlamp
- Wire nuts or connectors
- Smartphone with manufacturer’s app installed
For smart plug installation, you’ll typically only need:
- Smartphone with manufacturer’s app installed
- WiFi network name and password
Smart Plug Installation: The Simple Approach
Smart plugs offer the easiest entry point to smart home technology, requiring no electrical work.
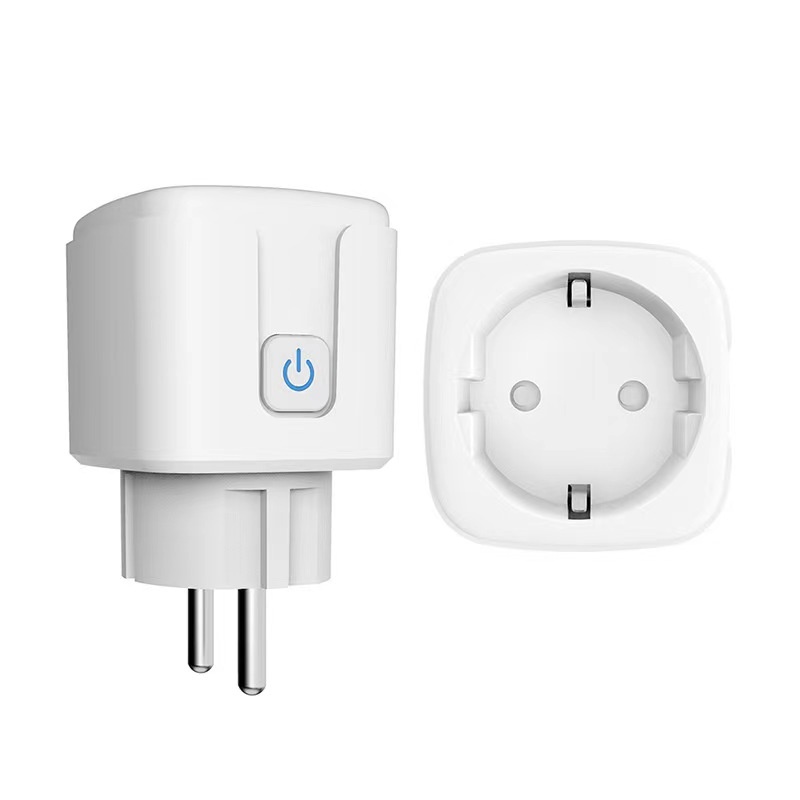
We offer 16A Smart Plugs with energy monitoring.
Basic Installation Steps
The typical process takes just minutes:
- Unbox and Inspect: Remove the smart plug from packaging and check for any damage
- Position Correctly: Insert the smart plug into your wall outlet, ensuring it’s fully seated
- Power Indication: Look for indicator lights showing the plug is receiving power
- App Installation: Download the manufacturer’s app on your smartphone if you haven’t already
- Account Creation: Create an account within the app if required
- Device Addition: Follow the app’s process for adding a new device, typically involving:
- Selecting “Add Device” or similar option
- Choosing the device type from available options
- Following prompts to put the plug in pairing mode (usually pressing and holding a button)
- Connecting to the plug’s temporary WiFi network or using Bluetooth for initial setup
- Providing your home WiFi credentials
- Naming and Grouping: Assign a descriptive name and room location to the plug
- Functionality Test: Plug a lamp or other device into the smart plug and test control via the app
- Voice Assistant Integration: If desired, connect to your preferred voice assistant through its app
Troubleshooting Common Setup Issues
If you encounter problems during installation:
Connection Failures:
- Ensure your phone is connected to 2.4GHz WiFi (not 5GHz, which many smart plugs don’t support)
- Move closer to your router during initial setup
- Restart your phone and/or router if persistent issues occur
- Check if your WiFi password was entered correctly
App Recognition Problems:
- Verify the plug is in pairing mode (usually indicated by a blinking light)
- Force close and restart the app
- Check for app updates
- Try resetting the plug to factory settings (usually by holding the button for 10+ seconds)
Physical Fit Issues:
- If the plug blocks adjacent outlets, consider a different model with a more compact design
- For tight spaces, look for low-profile models or those with adjustable positioning
- Consider smart power strips for areas with multiple devices
Smart Switch Installation: The Wired Approach
Installing smart switches requires basic electrical work but provides a more integrated solution.
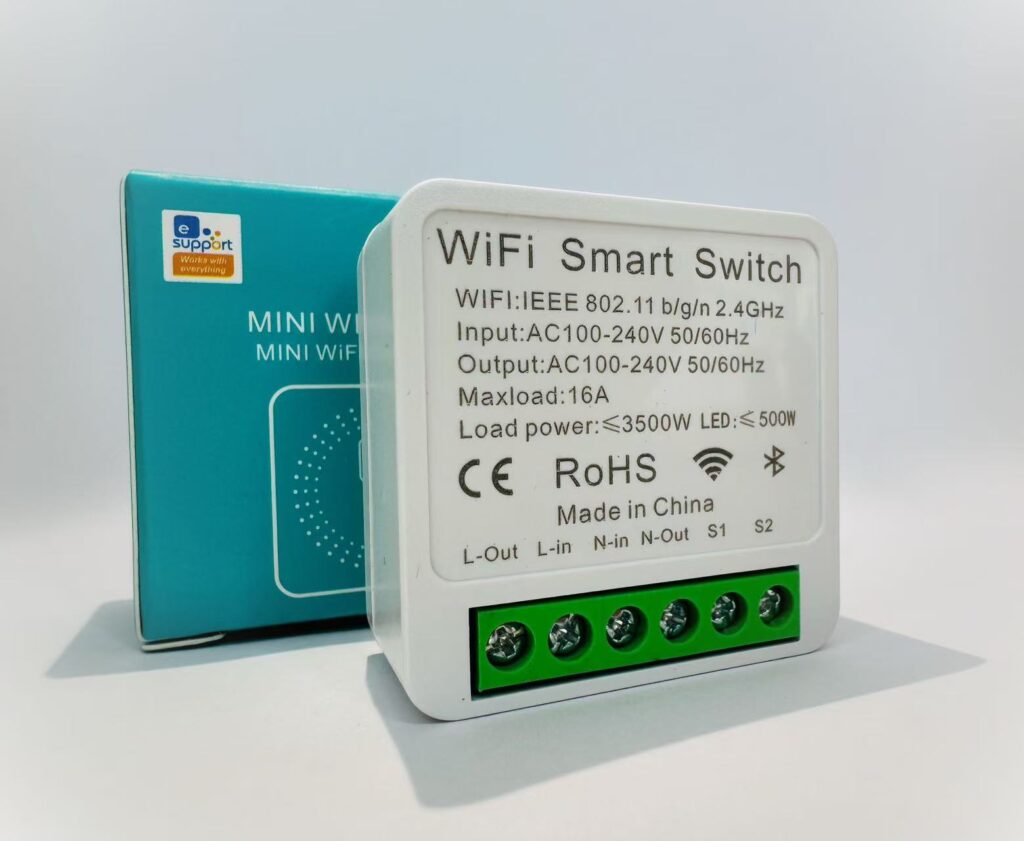
Our best-selling 16A Mini WiFi Smart Switch.
Wiring Assessment
Before removing your existing switch:
- Turn Off Power: Shut off the appropriate circuit breaker
- Verify Power Is Off: Use a non-contact voltage tester on the existing switch
- Remove Cover Plate: Unscrew and remove the decorative plate
- Examine Existing Switch: Without disconnecting wires, pull the switch out slightly to assess:
- Wire colors and connections
- Presence of a neutral wire (typically white, bundled in back)
- Box depth and space availability
- Switch type (single-pole, three-way, dimmer)
- Take Reference Photos: Photograph the existing wiring for later reference
- Consult Instructions: Review your specific smart switch’s wiring diagram
Standard Single-Pole Switch Replacement
For replacing a basic on/off switch controlling a single fixture:
- Disconnect Old Switch:
- Loosen terminal screws or press release tabs
- Carefully remove wires, noting their positions
- Remove the old switch from the box
- Identify Wires:
- Load wire (typically black, goes to the light)
- Line wire (typically black, comes from power source)
- Ground wire (typically bare copper or green)
- Neutral wire (typically white, may be bundled in back)
- Prepare Wires If Needed:
- Strip wire ends if necessary (usually 1/2 inch)
- Straighten bent wire ends
- If wires are solid core, consider adding a small hook at the end for secure connections
- Connect Smart Switch:
- Connect ground wire to the green terminal or wire
- Connect line wire to “Line” or “L” terminal (power input)
- Connect load wire to “Load” or “Light” terminal (power output)
- Connect neutral wire to the neutral terminal (typically labeled “N”)
- For switches with traveler terminals (for three-way setups), cap these if unused
- Secure Connections:
- Ensure all terminal screws are tightened firmly
- For wire nuts, twist clockwise until secure
- Wrap electrical tape around wire nuts for additional security
- Position in Box:
- Carefully fold wires into the back of the box
- Avoid pinching or damaging wires
- Center the switch in the opening
- Secure Switch:
- Attach to the electrical box using provided screws
- Ensure the switch is straight and level
- Do not overtighten mounting screws
- Attach Faceplate:
- Install the decorative cover plate
- Ensure it sits flush against the wall
- Restore Power:
- Turn the circuit breaker back on
- Check if the switch has power (usually indicated by LED)
Three-Way Switch Considerations
For switches that control a light from two locations:
Wiring Complexity:
- Three-way switches use traveler wires to communicate between switches
- Smart three-way setups may require special companion switches
- Some systems require a smart switch at only one location with a special remote at the other
Identification Tips:
- Three-way switches have three terminals plus ground (no “on/off” markings)
- Typically have a “common” terminal and two “traveler” terminals
- The common terminal connects to either the power source or the light fixture
Installation Approaches:
- Follow manufacturer-specific instructions carefully
- Some systems use proprietary communication between switches
- Others require special wiring configurations
- Many newer systems allow using a standard smart switch at one location and a battery-powered remote at others
No-Neutral Wire Solutions
For older homes without neutral wires in switch boxes:
Available Options:
- Specific smart switches designed for no-neutral installations
- Smart switch relays that install at the fixture rather than the switch
- Battery-powered smart switch covers that fit over existing switches
- Smart bulbs controlled by standard switches (with limitations)
Limitations to Consider:
- No-neutral switches often require minimum wattage loads
- May not work with LED bulbs unless specifically rated for compatibility
- Often don’t support dimming functionality
- May have reduced wireless range or reliability
Professional Alternatives:
- Electrician can sometimes run a neutral wire to switch locations
- Consider smart plugs for lamps instead of modifying hardwired lighting
- Explore hub-based solutions that may offer better no-neutral options
Software Setup and Configuration
After physical installation, complete the setup process:
App Configuration
- Download Required App:
- Install the manufacturer’s app on your smartphone
- Create an account if you don’t already have one
- Add Your Device:
- Select “Add Device” or similar option
- Choose the appropriate device type
- Follow prompts to put the switch in pairing mode
- Connect to your home WiFi network
- Naming and Organization:
- Assign a descriptive name (e.g., “Living Room Ceiling Light”)
- Assign to the appropriate room in your app
- Add to relevant groups if applicable
- Functionality Testing:
- Test app control (on/off, dimming if applicable)
- Test physical button operation
- Verify proper operation of any indicator lights
Ecosystem Integration
Connect your new device to your broader smart home system:
- Voice Assistant Connection:
- Open your voice assistant app (Alexa, Google Home, etc.)
- Navigate to device discovery section
- Follow prompts to find and add your new device
- Test voice commands to verify connection
- Scene Incorporation:
- Add the device to relevant scenes or routines
- Create new automations utilizing the device
- Test scene activation to ensure proper response
- Schedule Creation:
- Set up any desired schedules or timers
- Configure sunrise/sunset relative timing if desired
- Test schedule activation to verify proper operation
Advanced Installation Scenarios
Some situations require special consideration during installation.
Dimmer Switch Installation
Smart dimmer switches have additional requirements:
Compatibility Verification:
- Ensure your lighting is dimmable (most LEDs require specific dimming capability)
- Check minimum and maximum load requirements
- Verify the dimmer switch is rated for your specific bulb type
Wiring Differences:
- Most smart dimmers require a neutral wire
- Some may have an additional wire for advanced features
- Follow manufacturer-specific wiring diagrams carefully
Configuration Requirements:
- Many smart dimmers need to be configured for specific bulb types
- Some require setting minimum and maximum brightness levels
- May need calibration for optimal dimming range
Outdoor Installation
For exterior smart switches or weatherproof smart plugs:
Weather Protection:
- Use only devices specifically rated for outdoor use
- Look for appropriate IP ratings (IP65 or higher for exposed locations)
- Install under eaves or in weatherproof boxes when possible
Connection Considerations:
- Verify WiFi signal strength at installation location
- Consider range extenders for distant outdoor locations
- Some outdoor installations may benefit from Zigbee or Z-Wave rather than WiFi
Safety Requirements:
- Ensure outdoor circuits have proper GFCI protection
- Use weatherproof covers and gaskets
- Follow local electrical codes for outdoor installations
Multi-Gang Box Installation
When installing in boxes with multiple switches:
Space Management:
- Smart switches are typically deeper than standard switches
- May require a deeper electrical box for proper fit
- Consider heat dissipation with multiple smart switches
Faceplate Compatibility:
- Ensure faceplates accommodate mixed device types
- Some smart switches require special faceplates
- Verify aesthetic consistency across different brands
Load Considerations:
- Calculate total load on the circuit with all devices
- Be mindful of minimum distance between dimmers
- Consider potential wireless interference between adjacent devices
Maintenance and Troubleshooting
After installation, be prepared to address common issues:
Routine Maintenance
Keep your devices functioning optimally:
Software Updates:
- Check periodically for firmware updates
- Enable automatic updates when available
- Review release notes for new features or bug fixes
Physical Cleaning:
- Occasionally clean touchscreens or buttons with a slightly damp cloth
- Remove dust from heat vents if present
- Never spray cleaners directly onto electrical devices
Connection Verification:
- Periodically verify devices remain connected to your network
- Check for devices that frequently disconnect
- Consider network upgrades if connection issues persist
Common Problems and Solutions
Address these frequent issues:
Unresponsive Devices:
- Check if the issue is with the app, network, or device
- Try controlling via physical buttons to isolate the problem
- Power cycle the device by turning off/on at the breaker
- Reset and reconfigure if persistent issues occur
Intermittent Operation:
- Verify adequate WiFi signal strength
- Check for interference from other devices
- Consider a mesh network for better coverage
- Look for firmware updates that address stability
Unusual Heating:
- Ensure the device isn’t overloaded
- Verify proper installation without pinched wires
- Check manufacturer specifications for normal operating temperature
- Consider replacing if heating seems excessive
Installing smart switches and plugs is an accessible entry point to home automation that delivers immediate benefits. While smart plugs offer no-risk simplicity, smart switches provide a more integrated, permanent solution. By following these installation guidelines and best practices, you can confidently expand your smart home capabilities, creating a more convenient, efficient, and responsive living environment.